Create and push a branch to a remote Git repository
This post will discuss how to create and push a branch to a remote Git repository.
The idea is straightforward here. First, you create your branch locally and push the branch to the remote repository. We can do this in two ways:
1. git-checkout
We can use the git-checkout command with the -b option to create a new branch. It creates a new branch with the specified name and then checks it out.
git checkout -b <branch>
# Push the branch to the remote and set upstream
git push [-u | --set-upstream] <remote> <branch>
Here <remote> is the current branch’s remote (typically origin) and <branch> is the name of the branch. The --set-upstream (or -u) set the upstream branch for the given branch. If the --set-upstream option is skipped, git pull and some other commands will fail. You can also push a new branch upstream later with the git push -u command.
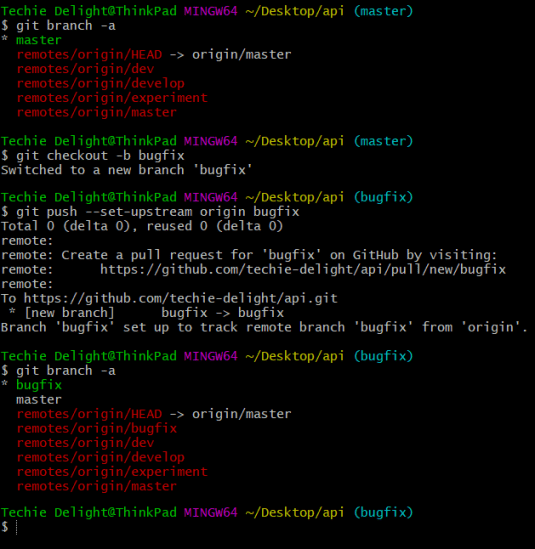
2. git-branch
Another option is to use the git-branch. The following code will create a new branch named <branch>, which points to the current branch’s HEAD and then push it to the remote repository.
git branch <branch>
# Push the branch to the remote and set upstream
git push [-u | --set-upstream] <remote> <branch>
That’s all about creating and pushing a branch to a remote Git repository.
Thanks for reading.
To share your code in the comments, please use our online compiler that supports C, C++, Java, Python, JavaScript, C#, PHP, and many more popular programming languages.
Like us? Refer us to your friends and support our growth. Happy coding :)